
It’s several years now since I did a night class in cake decorating. For the first year or so afterwards, I took every opportunity to practice by making and decorating a cake for every conceivable occasion! It is a long time now since the last one so I welcomed the opportunity last week to do a birthday cake for my nephew’s 13th birthday. His favourite cake is chocolate and I baked my Never Fail Chocolate Cake recipe.
For the decoration, I find a simple design is best. The overall effect is neither too busy nor too cluttered. Furthermore, it is far less stressful to create! I usually have a rough design in my head at the start. Sometimes I sketch it on paper to provide a better idea of how it might look.
Lochlan is very interested in astronomy and space travel. Hence I decided on a cosmic theme with stars, a planet and a space shuttle. I really wanted to make the design 3D if I could. If possible, I also wanted to have the stars, planet and shuttle raised up rather than sitting directly on the cake. This was to give the idea that they were up in the sky above the earth.
After baking the cake, the two main steps were to cover the cake with icing and to make the decorations for the top of the cake. Some decorations, for example, the lettering of “Lochlan 13”, are best made immediately prior to placing on the cake. Other decorations, such as the shuttle, need to be made in advance and allowed to dry out before positioning on the cake.
Making the Decorations
Decorations are moulded from gum paste. It is a form of icing that is malleable out of the packet but becomes hard once it has been shaped and left to dry. There is more than one brand available. I use Satin Ice gum paste which is available from Spotlight Stores and other retail outlets. It is important to keep unused gum paste sealed in the container so it doesn’t dry out. I sprinkle the gum paste with some icing sugar then knead it for a few minutes before shaping it. The kneading makes it softer and easier to work with.
Space Shuttle
To get the correct shape for the shuttle, I downloaded from the internet and printed a picture of a biscuit cutter that is two pieces which together give the shape of a space shuttle.

Next I took some gum paste and moulded it into an oblong shape about the length of the body piece of the printed biscuit cutter.

Using a small rolling pin and starting at the top, I rolled down and out on one of the long sides of the oblong – this was to create a thin piece at the side from which I could cut the shape of the wing.

I repeated this on the other side of the oblong to give the body of the shuttle with a thin piece on either side from which to cut the wings.

Using the printed cutout of the shuttle base, I held this on top of the “body” of the shuttle and cut the shape of the wing on each side and the shape of the engine bay at the back.


To mould the tail, I pressed in and up on the top of the shuttle near the back, then manipulated the gum paste until it was the correct shape.

To create the nose, I cut the shape using as a guide the printed cutout that was the shape of the body of the shuttle. As with the tail, I continued to manipulate the gum paste until it was the desired shape.

To raise the figures, I used craft wire. This is available from most craft shops (I get mine from Spotlight). The holes for the wire need to be made in the figures while the gum paste is still malleable. I inserted a piece of wire first into the underneath of the shuttle near the front, then into the underneath of the shuttle near the back. I inserted the wire several millimetres into the figure but not all the way through. I then removed the wire so just the hole remained. Once the figure is dry, the wire will go into the figure no higher than the depth of the hole.

To paint the nose and tail of the shuttle, I mixed some black powder colour with a small amount (about 3 teaspoons) of sugar syrup that was left over after covering the cake with icing (see below). Using a small paint brush (that I keep specifically for cake decorating!), I carefully painted the nose and tail. I then placed the painted shuttle on a piece of greasproof paper and left it to dry.

Planet
To make the ring to surround the planet, I coloured some gum paste using “Vanilla” colour. I rolled the gum paste to about 5mm thick. It needed to be reasonably thick in this instance since the ring was going to be inserted on wire. If the figure was too thin, there would be no room to make a hole for the supporting wire.

I cut the outer shape of the ring using the bottom of a large piping coupler.

I then cut the inner shape using a smaller round cutter.

To make wire holes in the ring, I inserted then removed a piece of wire 2-3mm into the ring in two places, each opposite the other. Once the ring was dry, this was sufficient for a piece of wire to support the ring.

To add the red sparkle to the ring, I again used some of the leftover sugar syrup (see “Covering the Cake” below) and brushed it over both sides of the ring. I then sprinkled each side with some red “Sanding Sugar” and set it aside to dry.


To make the planet itself, I moulded some gum paste the same colour as the ring into a ball that fitted into the round hole of the ring. I also made a wire hole in the planet by inserting a piece of wire several millimetres into the planet. I removed the wire and set the planet aside to dry.
Stars
I coloured some gum paste yellow and rolled it out to about 4mm thick. I cut out four stars using two different sized cutters. It is best to grease the cutters before use as the figure comes out of the cutter much easier.

As with the other figures, I inserted a piece of wire into each star between two points of the star. I removed the wire and set the stars aside to dry.
Covering the Cake
Before covering the cake with icing, it needs to be leveled on top. I use a sharp, long-bladed knife and carefully cut horizontally across the top of the cake to make it level. I then turn the cake onto a plate or board so the bottom of the cake is now the top. At this point, the plate or board I place the cake on is the one I intend to serve it on. I find it easier to already have it on the serving plate, rather than move it after I’ve finished decorating it.
I make a sugar syrup to act as the “glue” between the icing and the cake. I place equal parts of sugar and water into a saucepan. I bring these to the boil, then remove from the heat. I set the syrup aside while rolling out the icing.
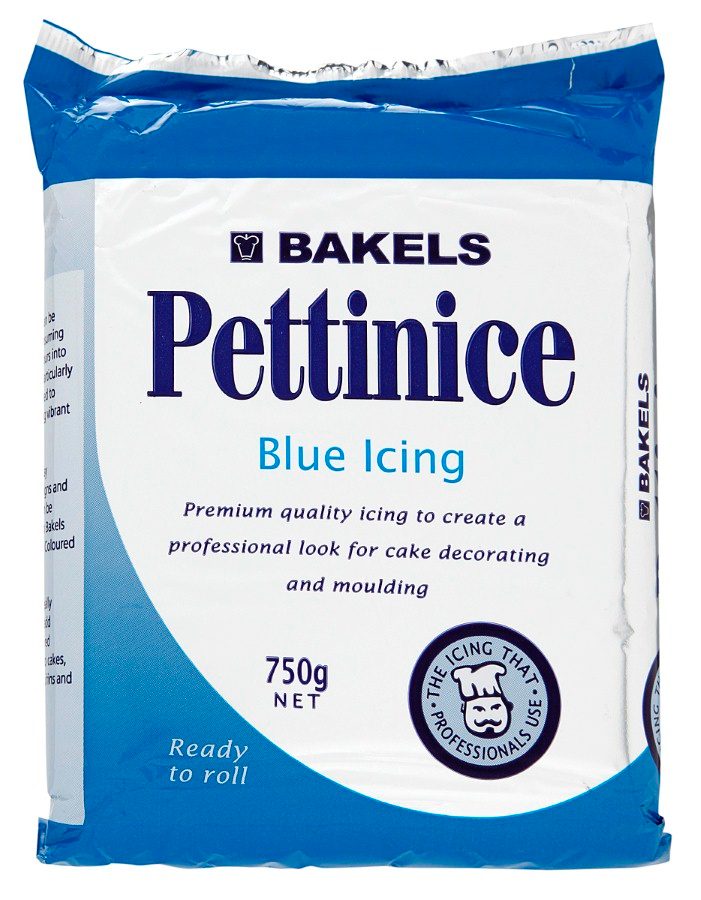
To save time colouring the icing myself, I used Bakels Pettinice blue RTR (Ready to Roll) icing. I find it ironic that all “RTR” icings, regardless of brand, tell you to first knead the icing! Isn’t it ready to roll?! Unless I’m using white RTR icing and colouring it myself, I choose not to knead it first, but rather I place the block of icing on a surface dusted with icing sugar and I roll out the icing to a size that will fit over the entire cake.
Using a pastry brush, I applied the sugar syrup all over the cake (top and sides) while the syrup was still warm.
I still sometimes find lifting the icing over the cake to be problematic. It can be helpful to roll the icing over the rolling pin to lift it onto the cake. Using my hands or a smoothing tool, I smooth the icing out over the top of the cake and down the sides. To cut the excess icing away once it is smooth all over the top and sides of the cake, I use a wide flat-bladed knife and keep the blade close in to the cake while cutting off the excess icing.
Just as holes were pre-cut into the figures, so too do holes need to be pre-cut into the cake. It is easier to make the holes while the icing is still soft rather than once it has started to set.
Using my rough design sketched earlier, I made a final decision as to where all of the figures would go and pressed wire into the cake at the appropriate places to create the holes.
I coloured some gum paste green and rolled dots about 5-6mm in diameter (I’m sure no two were exactly the same!). I placed these around the base of the cake as a finishing edge. I brushed a small amount of sugar syrup on each dot and placed the part with the syrup against the cake to hold the dot in place.
Still using the green gum paste, I used letter and number cutters to cut out “Lochlan 13”.

Like the star cutters, I find they work best if greased first as the cut out shape releases much easier. I placed these on the cake in the desired position, first brushing the underneath of each letter and number with a small amount of sugar syrup to hold it in place.
Assembling the Cake
Once the figures were dry enough that when the supporting wire was inserted, it didn’t go right through the figure, I was able to assemble the cake. It was a couple of days after making the figures that they were dry enough.
The craft wire can be cut with kitchen scissors. I cut the wire to the desired lengths then inserted each piece of wire into the relevant hole in the cake. Because I wanted the shuttle to be on an upward slant, the two pieces of supporting wire were different lengths. It was the same for the planet ring as I wanted the ring to be on a slant.
Once the wire was in the cake, I carefully placed the figures on the wire. A reasonably delicate touch is required to do this!
I’m pleased to report that my nephew was very happy with his birthday cake!
_______________________________________________________
(Please note that this post is not intended to be a comprehensive lesson in cake decorating; it is simply a description of how I created a specific cake.)

